Essential Gear & Viewing Areas
Master the Equipment and Locations for Your Haleakala Adventure

Written by a Local Expert
Kalani Miller5. Pack the Right Gear for Comfort and Safety
Hotel or condo blankets are the ultimate local hack. Grab the blankets from your room and wrap yourselves in them while you wait outside your car. It makes a huge difference.
The high altitude can dehydrate you quickly. Bring at least a liter of water per person. Pack some high-energy snacks like granola bars, nuts, or chocolate. Remember, there is no food, drink, or gas for sale anywhere in the park.
🔋 Essential Supplies
- Full gas tank - Last station in Pukalani
- Reservation confirmation - Downloaded to phone + photo ID
- Water - At least 1 liter per person
- High-energy snacks - Granola bars, nuts, chocolate
☀️ Sun Protection
- High-SPF sunscreen - UV rays extremely intense at 10,023 feet
- Sunglasses - Essential after sunrise despite cold
- Headlamp/flashlight - Walking in pitch dark before sunrise
Game-Changing Comfort Items
Hot Thermos
Coffee, tea, or cocoa - absolute game-changer for warmth and comfort
Hand Warmers
Lifesaver for fingers and toes during the long, cold wait
Portable Chair
Or blanket to sit on - much more comfortable than standing
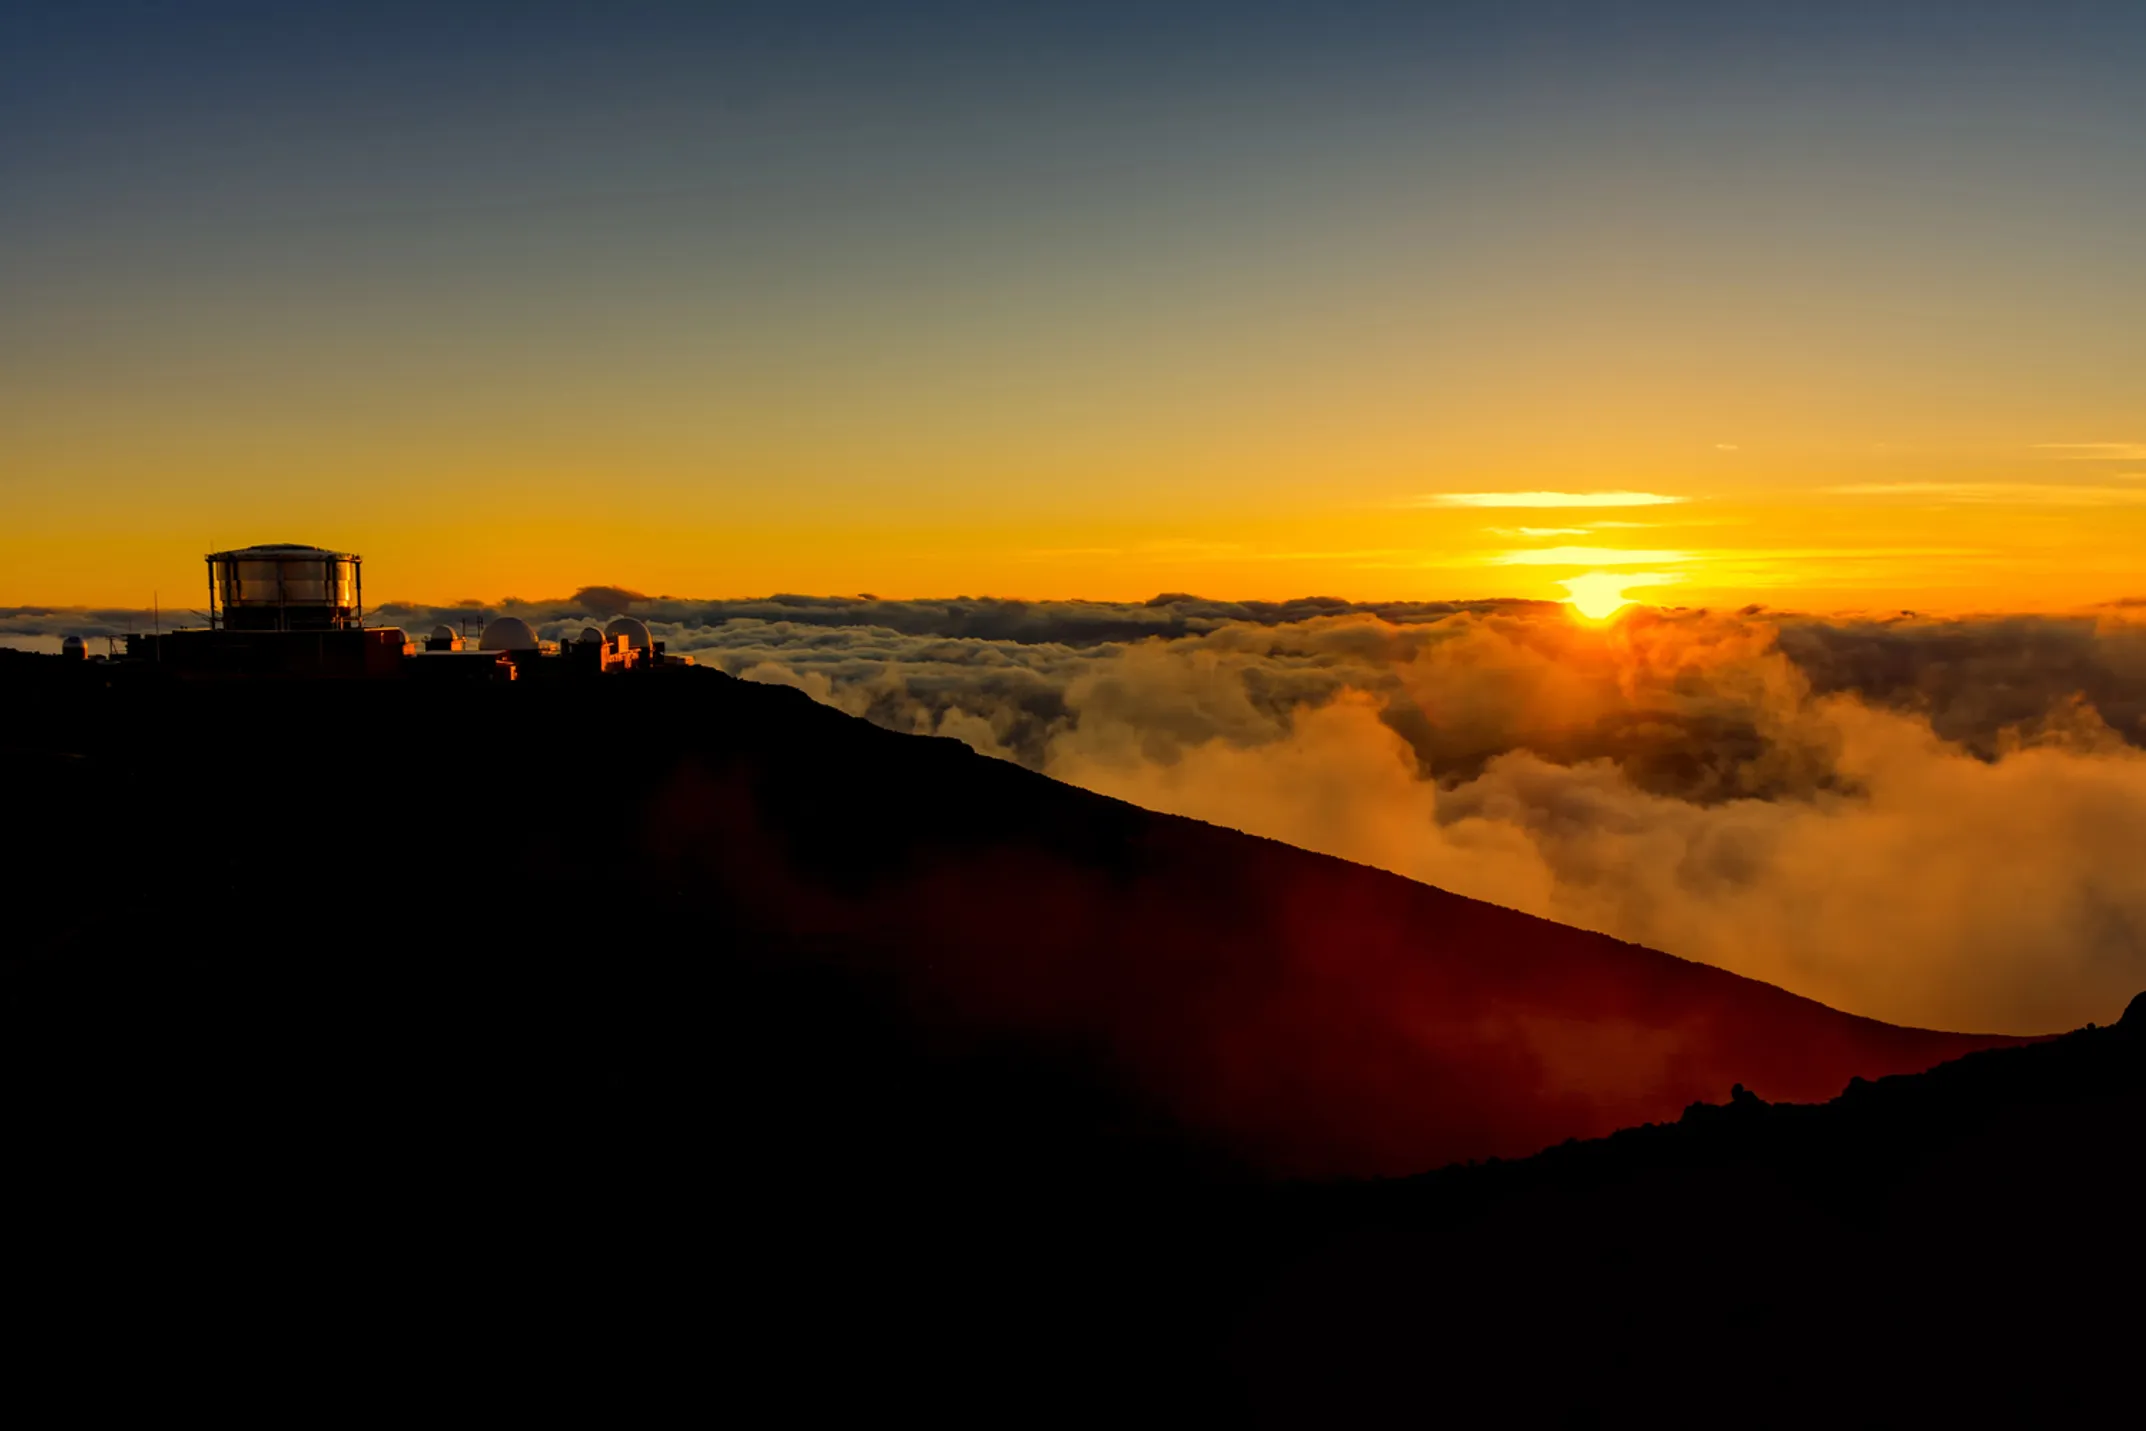
6. Understand the Summit Viewing Areas
The park has four main viewing areas, each offering different perspectives and crowd levels. The key is arriving early enough to secure parking and a good viewing spot, regardless of which area you end up in.
For Sunrise (Managed by Park Staff)
Park staff will direct traffic and may assign you to a specific parking area based on arrival time and capacity. Don't worry too much about which area you end up in - all offer spectacular views.
Pro Tip: The key is arriving early enough to secure parking and a good viewing spot. The specific viewing area matters less than your timing and preparation.
For Sunset (Your Choice)
You have more flexibility to explore different areas and find your perfect spot. I recommend arriving at least 90 minutes before sunset to claim your space and enjoy the changing light as the golden hour approaches.
Advantage: Freedom to scout locations, move around, and find the perfect vantage point for your photography and comfort preferences.
The Four Main Viewing Areas
Summit Area
Haleakalā Visitor Center
Kalahaku Overlook
Leleiwi Overlook
Parking & Position Strategy
For Sunrise:
- • Follow park staff directions
- • Accept assigned parking area
- • Focus on arrival timing over location
- • All areas offer spectacular views
For Sunset:
- • Arrive 90+ minutes early
- • Scout different areas
- • Choose based on wind protection
- • Consider photography angles
Continue Your Sacred Journey
Learn about cultural respect, Upcountry adventures, and complete planning tips
✅ Gear Checklist
Critical Items
- Full gas tank
- Reservation + ID
- Winter clothing layers
- Headlamp/flashlight
Comfort Items
- Hotel blankets
- Hot thermos
- Hand warmers
- Portable chair
📍 Viewing Areas
Highest elevation, fills first
Facilities & educational displays
Mid-elevation, good views
Less crowded option
🌡️ Temperature Alert
10,023 feet elevation
20°F+ colder than sea level. Often below freezing before dawn with brutal wind chill.