
Photography Secrets: Capturing the Magic
Wailua Falls is a photographer's dream, but getting professional results requires more than just pointing your phone at the water. Here are techniques that will transform your photos from snapshots to stunning images.
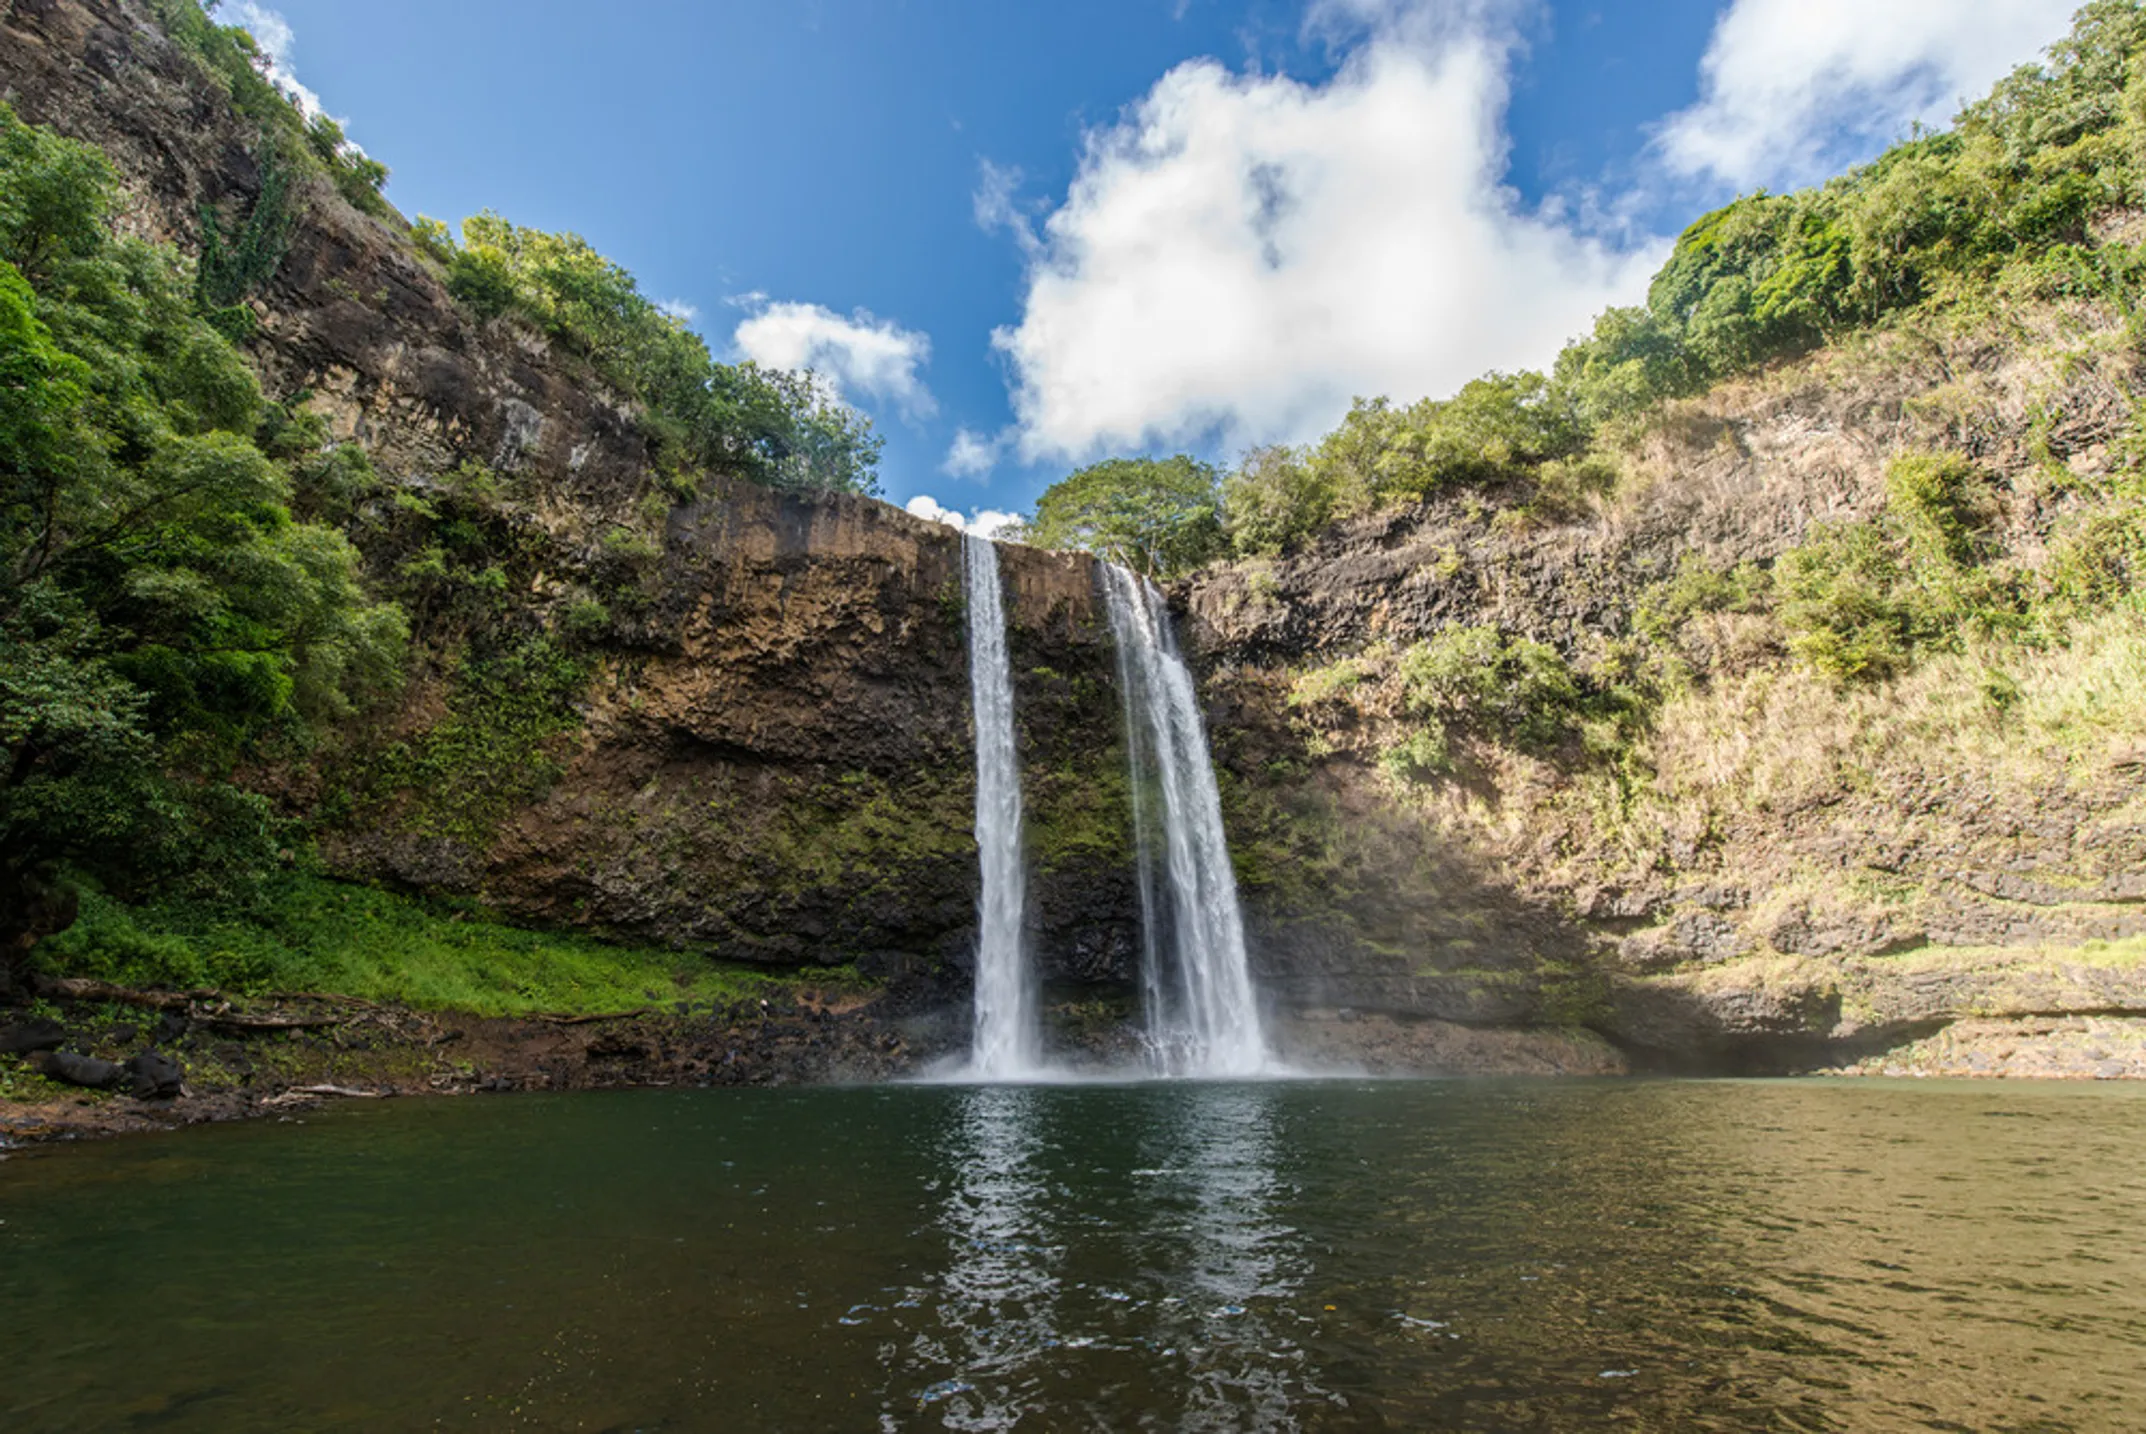
Creating Silky Water
That beautiful, milky look you see in professional waterfall photos comes from using a slow shutter speed. The water blurs into smooth, ethereal streams while the surrounding landscape stays sharp.
Essential Equipment
A sturdy tripod is absolutely necessary. Any camera movement during the long exposure will ruin your shot. Even the smallest vibration will create blur where you want sharpness.
Camera Settings for Success
Switch to Manual mode or Shutter Priority if you're not comfortable with full manual control.
📷 ISO
Set to your camera's lowest native setting, usually 100 or 200. This minimizes digital noise and allows for longer exposure times.
🔍 Aperture
Choose f/8 to f/11. This range keeps everything sharp without letting in too much light.
⏱️ Shutter Speed
Start with 1/2 second and experiment. Longer speeds (1, 5, or even 30 seconds) create smoother effects. Shorter speeds (1/15 second) retain more water texture.
Filter Magic
On bright days, even with the lowest ISO and smallest aperture, your photo will be overexposed. This is where filters become essential.
Neutral Density Filters
Think of ND filters as sunglasses for your lens. They reduce light entering the camera without changing colors. This allows you to use slow shutter speeds even in bright daylight.
A 3-stop or 6-stop ND filter works well for most conditions at Wailua Falls. The stronger the filter, the longer exposures you can use.
Circular Polarizing Filters
CPL filters are magic for waterfall photography. They cut reflections on wet rocks and leaves, making colors appear deeper and more saturated. The lush green foliage around Wailua Falls will pop with intensity.
The Rainbow Dilemma
Here's a critical tip many photography guides miss. While polarizing filters enhance landscape colors beautifully, they can make rainbows disappear completely. Rainbows are formed by reflected light, and polarizers work by cutting reflected light.
Choose Your Priority:
- For rainbow shots: Remove the polarizer. Shoot with the sun at your back in the morning. The rainbow is your main subject.
- For landscape enhancement: Use the CPL filter. Rotate it while looking through your viewfinder to see the effect in real-time.
- For silky water: Use ND filters with a tripod. This works with or without polarizers.
Understanding this choice lets you make the right decision when you're at the falls. You can't have both maximum rainbow visibility and maximum landscape enhancement in the same shot.
Continue Your Wailua Falls Journey
Explore essential safety information, alternative adventures, and plan your perfect day in the Wailua area.
📸 Photo Checklist
- Sturdy tripod
- ND filters (3 or 6-stop)
- CPL filter
- Extra batteries
- Lens cleaning cloth
- Remote shutter release
⚙️ Quick Settings
- Mode: Manual or S/Tv
- ISO: 100-200
- Aperture: f/8 to f/11
- Shutter: 1/2 to 5 sec
- Filter: ND or CPL
📖 Complete Guide
Getting there & timing
Ancient HistorySacred stories & legends
Capture stunning shots
Important warnings
Full Day AdventuresPlan your itinerary