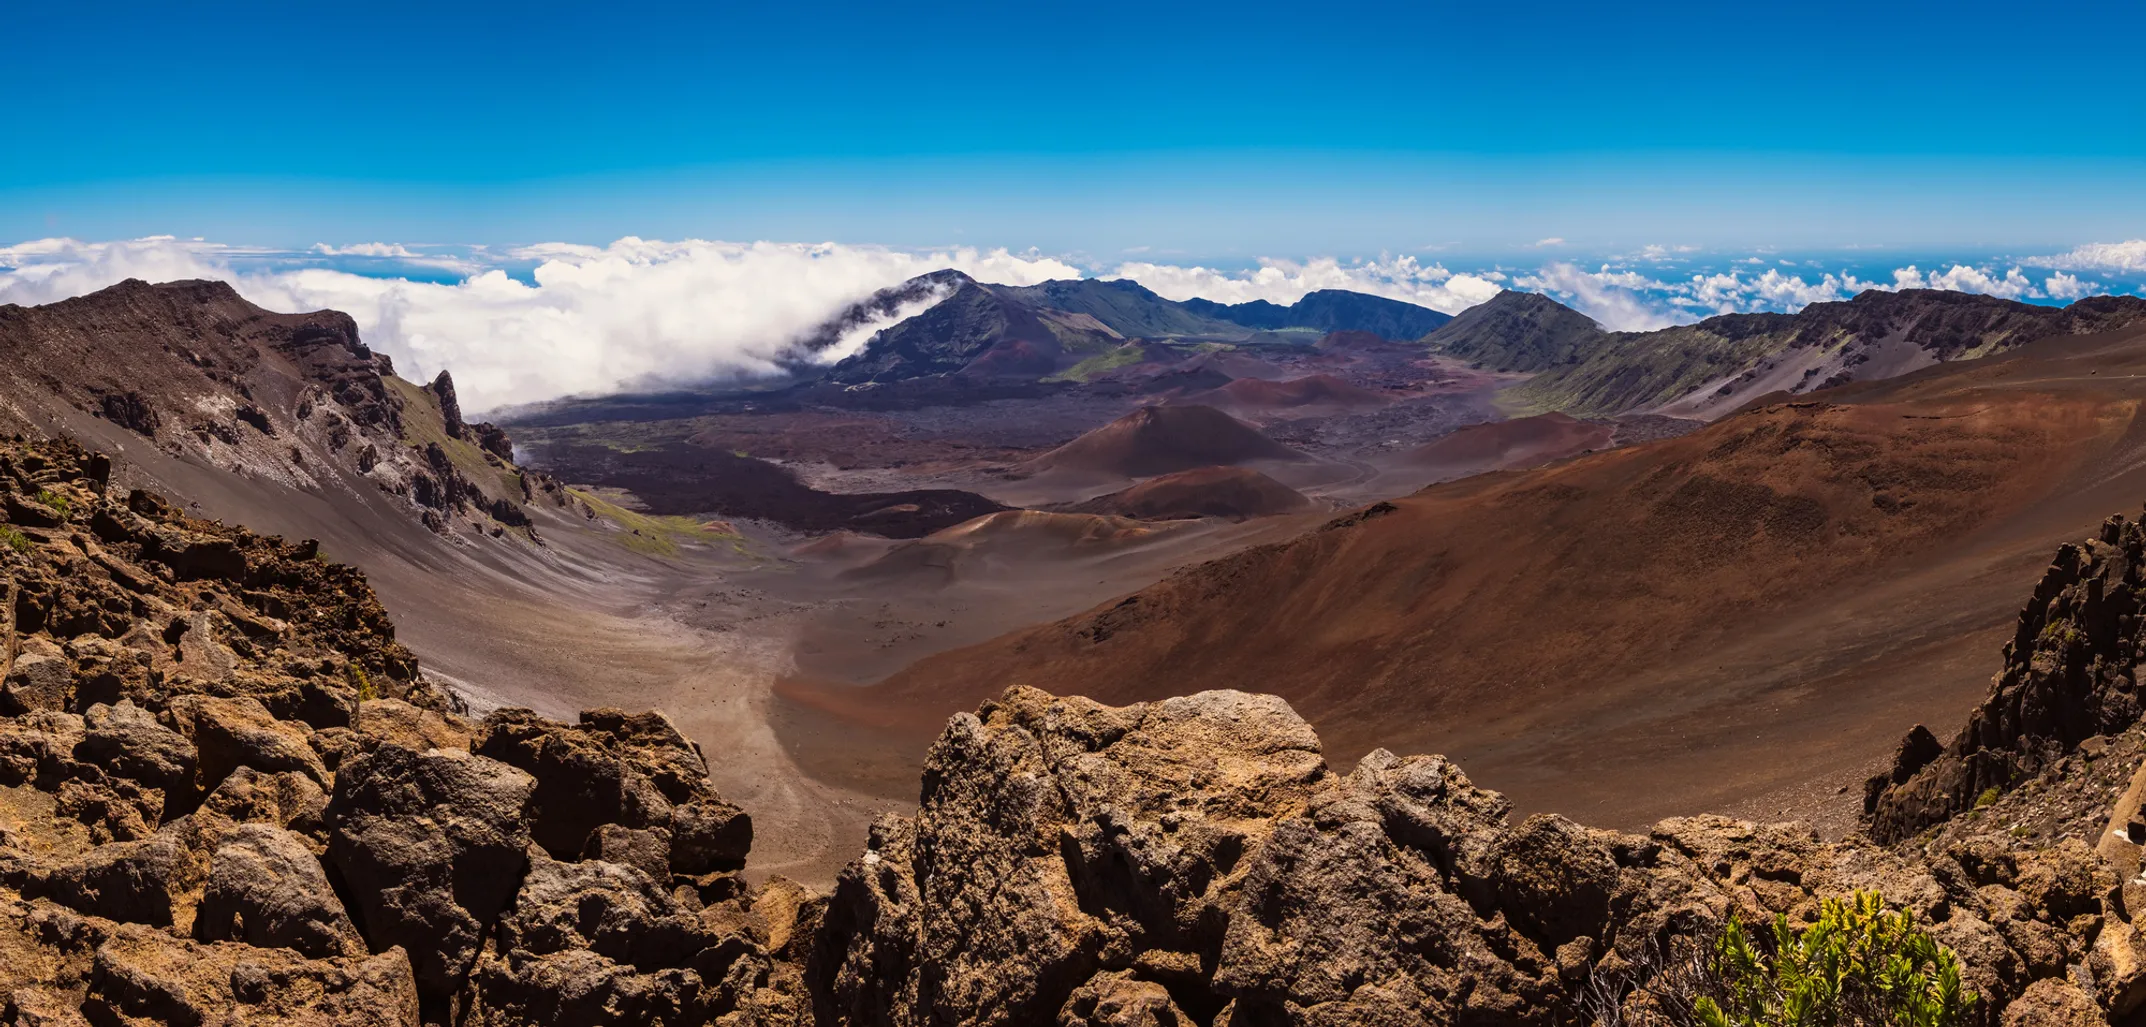
Photographer capturing Hawaii's dramatic natural landscapes at golden hour

Photography Tips

Capturing the Magic of Hawaii's Parks

Capturing the Spirit of Wahi Pana

Photographing Hawaii's sacred places requires more than technical skill—it demands understanding and respect for the land and its stories. These wahi pana (legendary places) have been photographed millions of times, yet each moment offers a unique opportunity to capture their essence through your own vision.

This field guide draws from Leilani Ako's years of experience photographing Hawaii's parks, from the fiery glow of Kīlauea to the emerald valleys of Kauaʻi. Whether you're shooting with a smartphone or professional gear, these techniques will help you create images that honor these sacred landscapes.

Essential Gear & Camera Settings

📷 Essential Equipment

Camera & Lenses

  • • Wide-angle lens (16-35mm) for landscapes
  • • Telephoto zoom (70-200mm) for isolating details
  • • Sturdy tripod (essential for long exposures)
  • • Extra batteries (cold at elevation drains power)

Filters & Accessories

  • • Polarizing filter (cuts glare, enhances colors)
  • • Neutral density filters for waterfalls
  • • Lens cleaning kit (salt air and volcanic dust)
  • • Weather protection (rain covers)

⚙️ Key Settings

Landscape Photography

  • • Aperture: f/8-f/11 for sharp foreground/background
  • • ISO: Keep as low as possible (100-400)
  • • Focus: Hyperfocal distance or focus stacking
  • • Shoot RAW for maximum editing flexibility

Waterfalls & Motion

  • • Slow shutter (1-4 seconds) for silky water
  • • Use ND filters to allow longer exposures
  • • Tripod essential for sharp, stable shots
  • • Bracket exposures for high dynamic range

Mastering Hawaii's Light

🌅 Golden Hour Magic

The hour after sunrise and before sunset provides the warmest, most flattering light for landscapes.

Best For:

  • • Canyon photography (Waimea, Haleakalā)
  • • Coastal shots with warm reflections
  • • Silhouette photography
  • • Portrait photography with natural glow

🌌 Blue Hour Drama

The 20-30 minutes after sunset when the sky turns deep blue, providing even lighting and dramatic skies.

Best For:

  • • Volcano photography with lava glow
  • • City lights from elevated viewpoints
  • • Star trail preparation shots
  • • Dramatic seascape compositions

☁️ Overcast Advantage

Cloudy conditions provide soft, even lighting perfect for certain subjects, especially in rainforest environments.

Best For:

  • • Waterfall photography (no harsh shadows)
  • • Forest detail shots and close-ups
  • • Saturated green vegetation
  • • Moody, atmospheric landscapes

Timing Your Shoot

Sunrise Locations:

  • • Haleakalā Summit (requires reservations)
  • • Makapuʻu Lighthouse Trail (Oʻahu)
  • • Kīlauea Crater viewpoints
  • • East-facing beaches (Lanikai, Kailua)

Sunset Locations:

  • • Waimea Canyon lookouts
  • • Puʻu ʻUalakaʻa State Park (Tantalus)
  • • West-facing beaches (Poipu, Makena)
  • • Nāpali Coast from boat or helicopter

Composition Techniques for Hawaii's Landscapes

🌿 Powerful Foregrounds

Strong foreground elements create depth and lead the viewer's eye into the composition.

Natural Elements:

  • • Volcanic rock formations and lava flows
  • • Native plants (ʻōhiʻa, koa, hapuʻu ferns)
  • • Tide pools and coral formations
  • • Interesting driftwood or beach stones

Pro Tip: Get low and close to foreground elements. Use wide-angle lenses to exaggerate perspective and create dramatic depth.

➡️ Leading Lines

Use natural lines to guide the viewer's eye through your composition toward your main subject.

Natural Lines:

  • • Coastlines and wave patterns
  • • Ridge lines and mountain silhouettes
  • • Rivers, streams, and waterfall flows
  • • Lava flow patterns and rock striations

Example: Use the Chain of Craters Road as a leading line toward the ocean, or follow stream beds up to waterfalls.

📏 Showing Scale

Hawaii's landscapes are massive. Include recognizable elements to convey the true scale of these natural wonders.

Scale Indicators:

  • • People or hikers in the distance
  • • Boats against cliffs (Nāpali Coast)
  • • Cars on winding canyon roads
  • • Trees or vegetation for size reference

Technique: Place scale elements in the lower third of your frame, but make sure they don't dominate the composition.

🖼️ Natural Framing

Use natural elements to create frames that focus attention on your main subject and add depth.

Framing Elements:

  • • Cave openings and lava tubes
  • • Overhanging tree branches
  • • Rock arches and natural windows
  • • Canyon walls and cliff edges

Example: Frame Diamond Head through the ironwood trees at Koko Head, or use lava tube openings to frame distant landscapes.
Location-Specific Photography Techniques

🌋 Volcano Photography

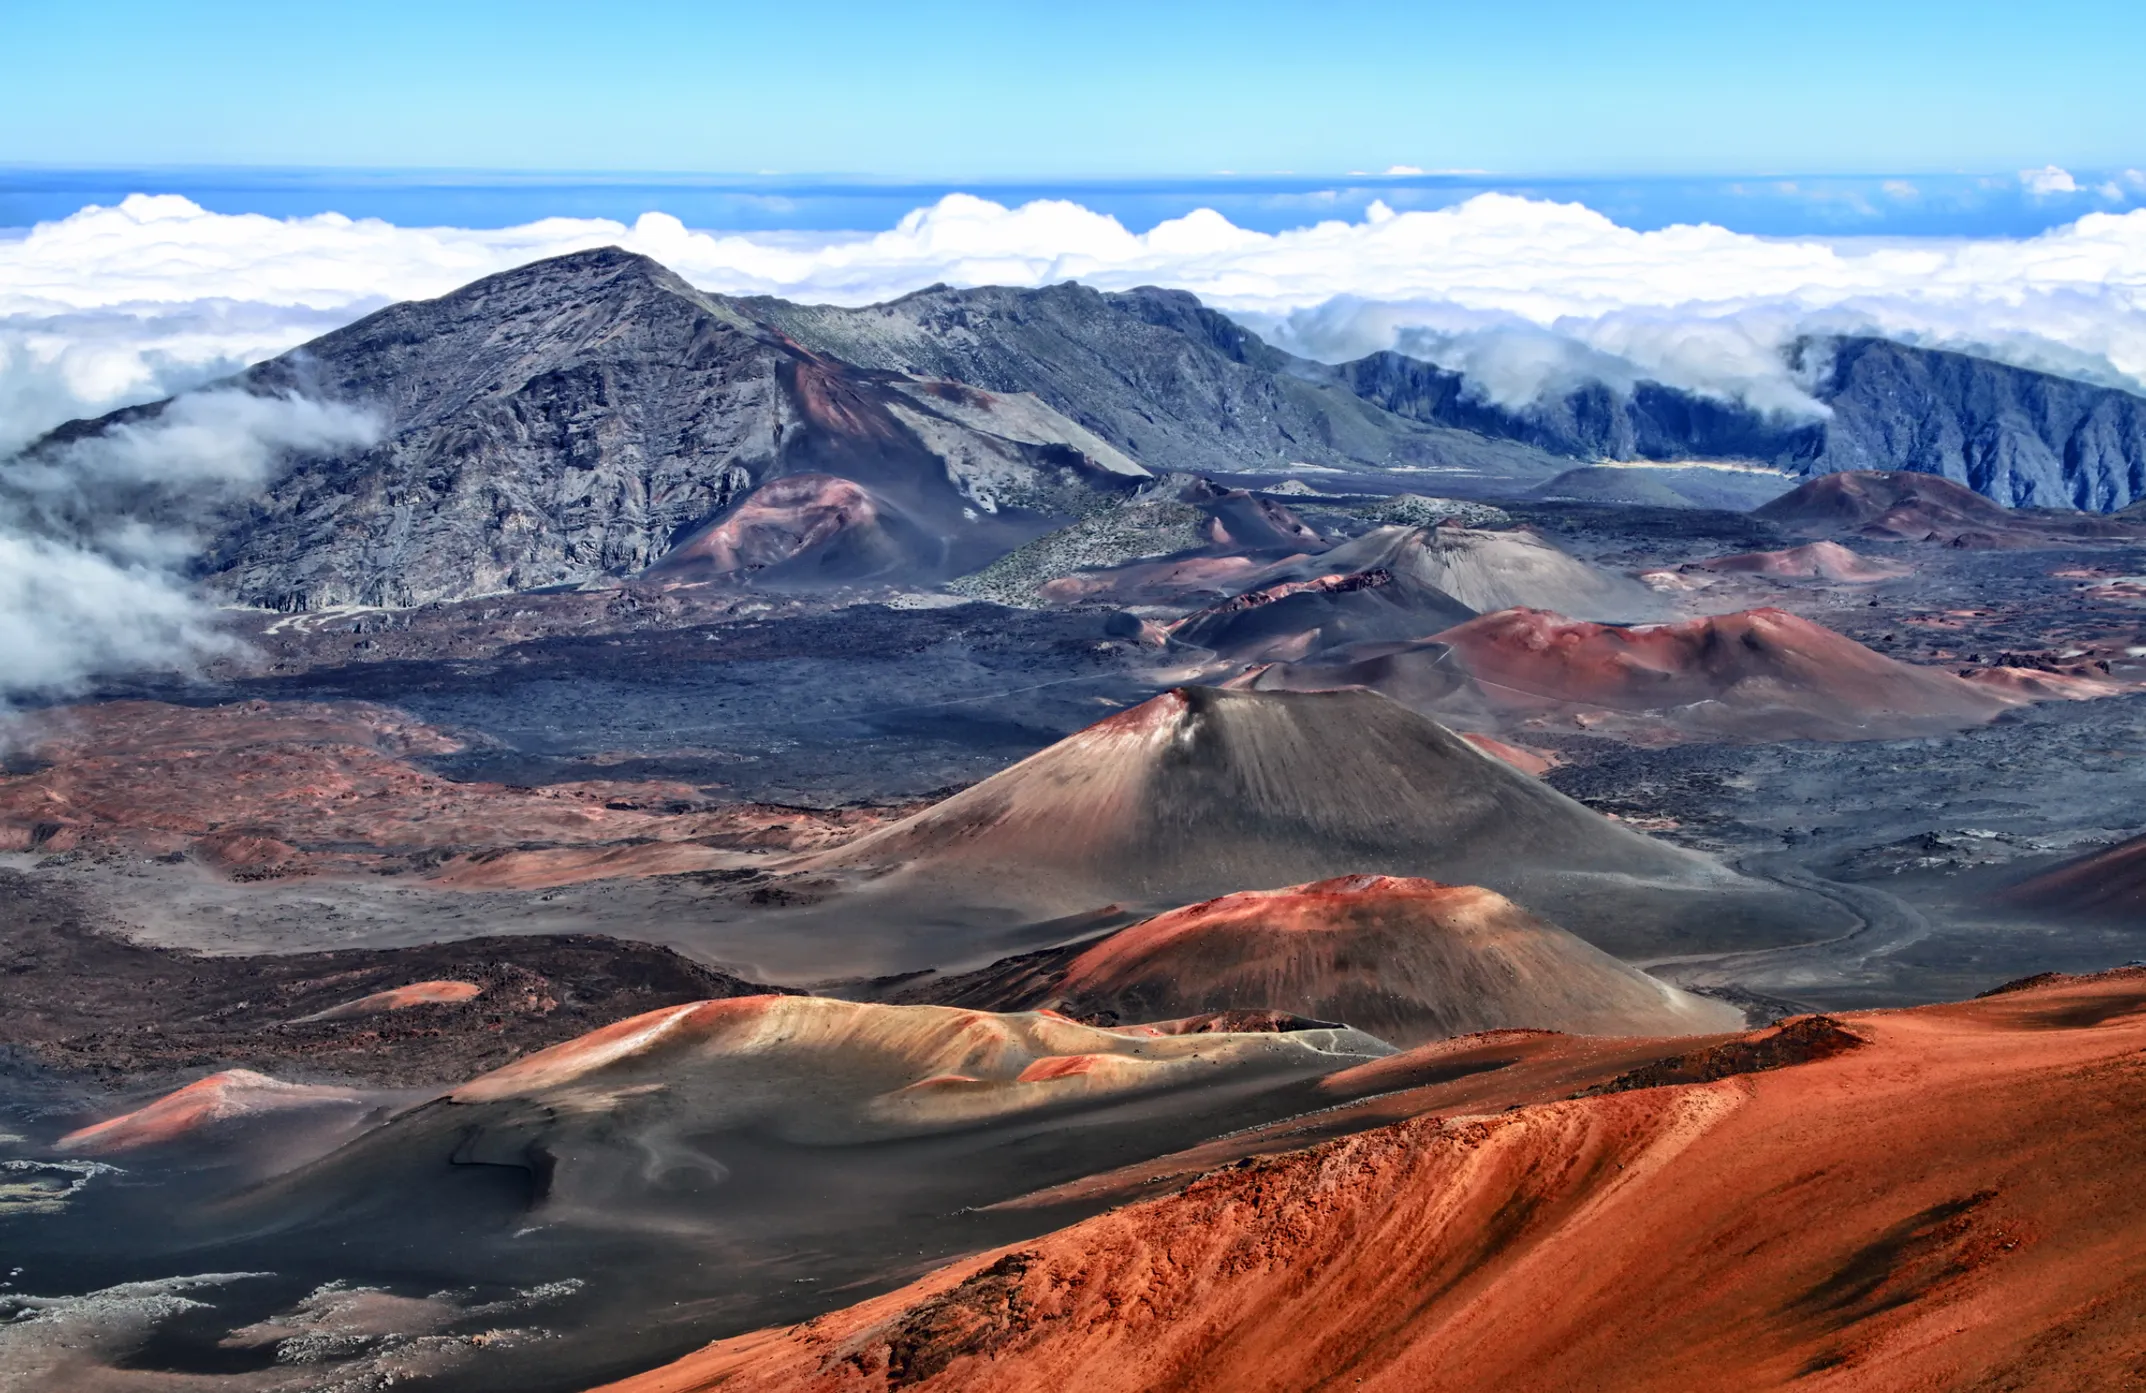
Professional photography example of Hawaii's volcanic landscape with dramatic lighting and composition

Example: Capturing volcanic landscapes requires understanding light, composition, and safety protocols

Lava & Crater Shots:

  • • Use telephoto lenses to safely capture lava details
  • • Shoot during blue hour for best glow contrast
  • • Protect gear from volcanic gases and ash
  • • Use manual focus (autofocus struggles in low light)

Safety & Settings:

  • • Tripod essential for sharp long exposures
  • • ISO 800-1600 for handheld night shots
  • • Bracket exposures for extreme contrast
  • • Always follow park safety guidelines

💧 Waterfall Photography

Silky Water Effect:

  • • 1-4 second exposures for smooth flow
  • • Use ND filters to reduce light
  • • Overcast conditions provide even lighting
  • • Focus on rocks or pool edges for sharpness

Composition Tips:

  • • Include interesting foreground rocks or pools
  • • Capture mist and spray for atmosphere
  • • Try vertical compositions for tall falls
  • • Look for rainbow opportunities in mist

🏖️ Coastal & Cliff Photography

Wave & Tide Techniques:

  • • Time arrivals with tide charts for best compositions
  • • Use fast shutter speeds to freeze wave action
  • • Polarizing filter essential for reducing glare
  • • Shoot from higher vantage points for better perspective

Cliff & Canyon Views:

  • • Use zoom lenses to isolate dramatic details
  • • Include clouds for scale and visual interest
  • • Side lighting enhances cliff texture and depth
  • • Multiple focal lengths capture different perspectives

Protecting the Places We Photograph

🌱 Leave No Trace Photography

Ethical Practices:

  • • Stay on designated trails and paths
  • • Don't move rocks, plants, or natural features
  • • Avoid trampling vegetation for better angles
  • • Don't use drones in national parks (prohibited)
  • • Respect wildlife viewing distances

Remember: Take only photographs, leave only footprints. These places are sacred to Native Hawaiians and fragile ecosystems.

🙏 Cultural Respect

Honoring Sacred Places:

  • • Learn about the cultural significance of locations
  • • Don't climb on heiau (temple) structures
  • • Avoid taking rocks from sacred sites
  • • Be respectful when photographing cultural sites
  • • Share knowledge about Hawaiian culture with visitors

Perspective: Approach these landscapes with the same reverence you would show any sacred place. Your photographs should honor, not exploit.

📸 Quick Settings Guide

Landscapes

  • • Aperture: f/8-f/11
  • • ISO: 100-400
  • • Focus: Hyperfocal distance

Waterfalls

  • • Shutter: 1-4 seconds
  • • Use ND filters
  • • Tripod required

Lava/Night

  • • ISO: 800-1600
  • • Manual focus
  • • Blue hour timing

🌤️ Weather & Timing

Golden Hour

First/last hour of sunlight

Blue Hour

20-30 min after sunset

Overcast

Perfect for waterfalls

Trade Winds

Affect stability, plan accordingly

🔍 Essential Filters

  • Polarizing:

    Cuts glare, enhances colors

  • Neutral Density:

    Allows longer exposures

  • Graduated ND:

    Balances sky/foreground